The most important tool a document examiner has is his or her own vision, but in this section and the laboratory tour section we will consider the external tools which enable the examiner to see, evaluate and record more than is apparent to the unaided eye. These tools can be grouped into 6 categories:
1. basic measuring tools
2. magnification (magnifiers/microscopes)
3. light sources
4. special instruments
5. photography equipment
6. computer equipment
1. BASIC MEASURING TOOLS
Basic measuring tools include metric rulers, calipers for fine measurements and various glass alignment plates such as the one illustrated below which allow comparison and measurement of angles, height, width and spacing of handwriting and typewriting.
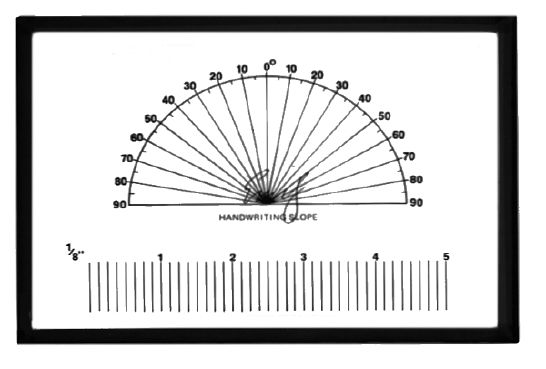
A tool for both measurement and magnification is a "reticle" which is a magnifier eyepiece containing an engraved measurement scale which allows the examiner to precisely measure what is viewed under the microscope.
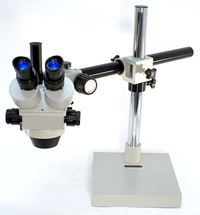
2. MAGNIFICATION - Magnifiers/Microscopes
Document examiners use a wide range of magnification equipment. Handheld magnifiers (sold here by QDEWill) enlarge the material from 2 to 10 times (magnification powers of 2X to 10X) and may have lighting abilities as well to brighten the field of view. To see details more closely, there are many types of microscopes. A binocular, or stereo, microscope is comfortable to use because, as the name implies, there are 2 eyepieces and the viewer focuses with both eyes. In addition, a microscope can have a third viewing tube which allows a still or video camera to be attached for "through the microscope" photography or videography. Digital microscopes combine optics for magnification with digital capture technology to allow the user to view the magnified image on the monitor instead of or in addition to viewing it through the microscope eyepieces.
It might seem that the more powerful the microscope in terms of magnification, the better, but for the task of handwriting examination, this is not the case. Most handwriting examination is done at powers of 10X to 50X (the subject is enlarged 10 to 50 times). When magnification is higher, the field of vision is so narrow that the object viewed loses relevance. In the example below, my signature is shown at 10X, 15X, 20X and 25X.


It is a good idea to start out with a low power when first examining a portion of a document and then to zoom in closer to the area you want to inspect.
A type of microscope that is particularly useful in document examination is the comparison microscope. Two documents can be viewed side-by-side and the images can be positioned so that they appear to overlay each other. By using a different color of filter on each document, the examiner can then see a third color in those areas where the two segments being compared overlap each other. Below you see the results when two of my signatures are viewed under the comparison microscope at 15x. The interplay of colored light makes this image a bit confusing to the first time viewer, but essentially you are seeing a composite of two signatures (one viewed through a red filter and one viewed through a green filter) in which the black line segments are the places where the two signatures would coincide if the signatures were really on top of each other.

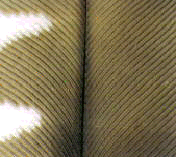
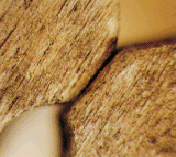
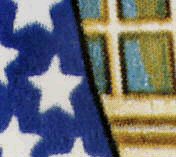
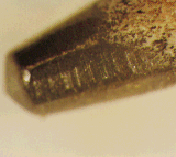
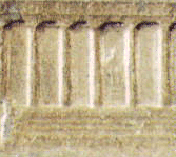
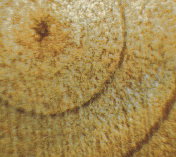
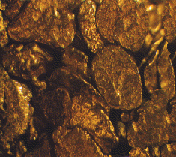
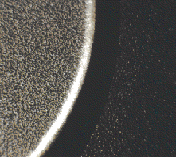
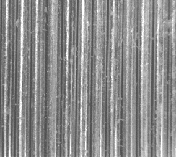
One enjoyable fringe benefit of being a document examiner is recreational use of the microscope. Over the years I have looked at and photographed lots of interesting things through the looking glass. Below are 6 reasonably common items photographed at varying powers. See if you can guess what they are.


3. LIGHT SOURCES
Light sources include transmitted light, long and short wave ultraviolet light, and infra-red light. Transmitted light is simply light from behind a document. This is best provided by a light box which has a color corrected flourescent type light bulb. The document can be laid upon the box and the light from behind the document makes it possible to see details not otherwise visible.
4. SPECIAL INSTRUMENTS
UV and IR light are used to differentiate between inks and papers, and to reveal obliterated materials. Photography using specific films and filters can be used in conjunction with these special lights to reveal and record information. These techniques do not always lead to answers, but they are the best initial approach because they are non-destructive methods. For more information and a demonstration of this equipment, take a tour of my document examination laboratory.
5. PHOTOGRAPHY EQUIPMENT
The second important use of photography in document examination is for recording and presenting evidence. A critical part of the job of the document examiner is to present evidence to the parties involved in a document dispute. The examiner must be able to state and explain his or her opinion, but the best service is given when the examiner goes the final step of illustrating testimony with visual evidence. Photo equipment is likely to include a 35mm SLR camera, digital camera, copy stand, filters, extension tubes, lenses, and other items.
6. COMPUTER EQUIPMENT
The last category, computer equipment is a recent and diverse category. Of course the computer is an essential aid to anyone who writes reports, runs a business, and handles finances. But in document examination there is a lot more to do with a computer. A whole new area of potential document fraud has developed around the computer. Just as the examiner once had to divert from the study of handwriting to learn about a new machine, the typewriter, now he must learn about the computer and the output devices that are associated with it.
But the computer is not just a source of trouble for the document examiner, or a help in making attractive and informative exhibits. It is also a tool in doing examinations and presenting evidence. For example, scanning in documents and cautious use of image processing software offers the potential to differentiate between inks and reveal obscured writing, as illustrated in series of images that follow.

For the first image, a photograph of the original document (the original was on file in the courthouse and could not be removed from that location) was scanned in and cropped to the area in question. In the second image the contrast and brightness have been adjusted to give a clearer view of the area. In the third through sixth images the heavy inking that was used to obscure the original writing is gradually "removed" to reveal the "2". In this case, the ink or inks all appeared black and could not be separated with filtering, but the "2" could be seen under a microscope. The view through the microscope served as a guide in working with the computer image to prepare this series of illustrations.
Copyright © 2001-2008 Emily J. Will All Rights Reserved.